A few months ago I was really in the mood to scrapbook. I wanted to use up a lot of paper supplies I have, but mostly I just love looking at old photos. So, on a whim I decided to make a mini paper scrapbook to document the past year. My life has changed tremendously since then and it was nice to relive those moments.
My main purpose for my album was to incorporate as many pictures with people in them. To me, it's the people that you spend time with that create those precious memories, not necessarily the professionalism of the photographs. I thought I would run into trouble trying to write captions for a lot of events, but the opposite was true. Looking at the photos brings back so many funny stories and inside jokes that I hope to remember when I'm much older.


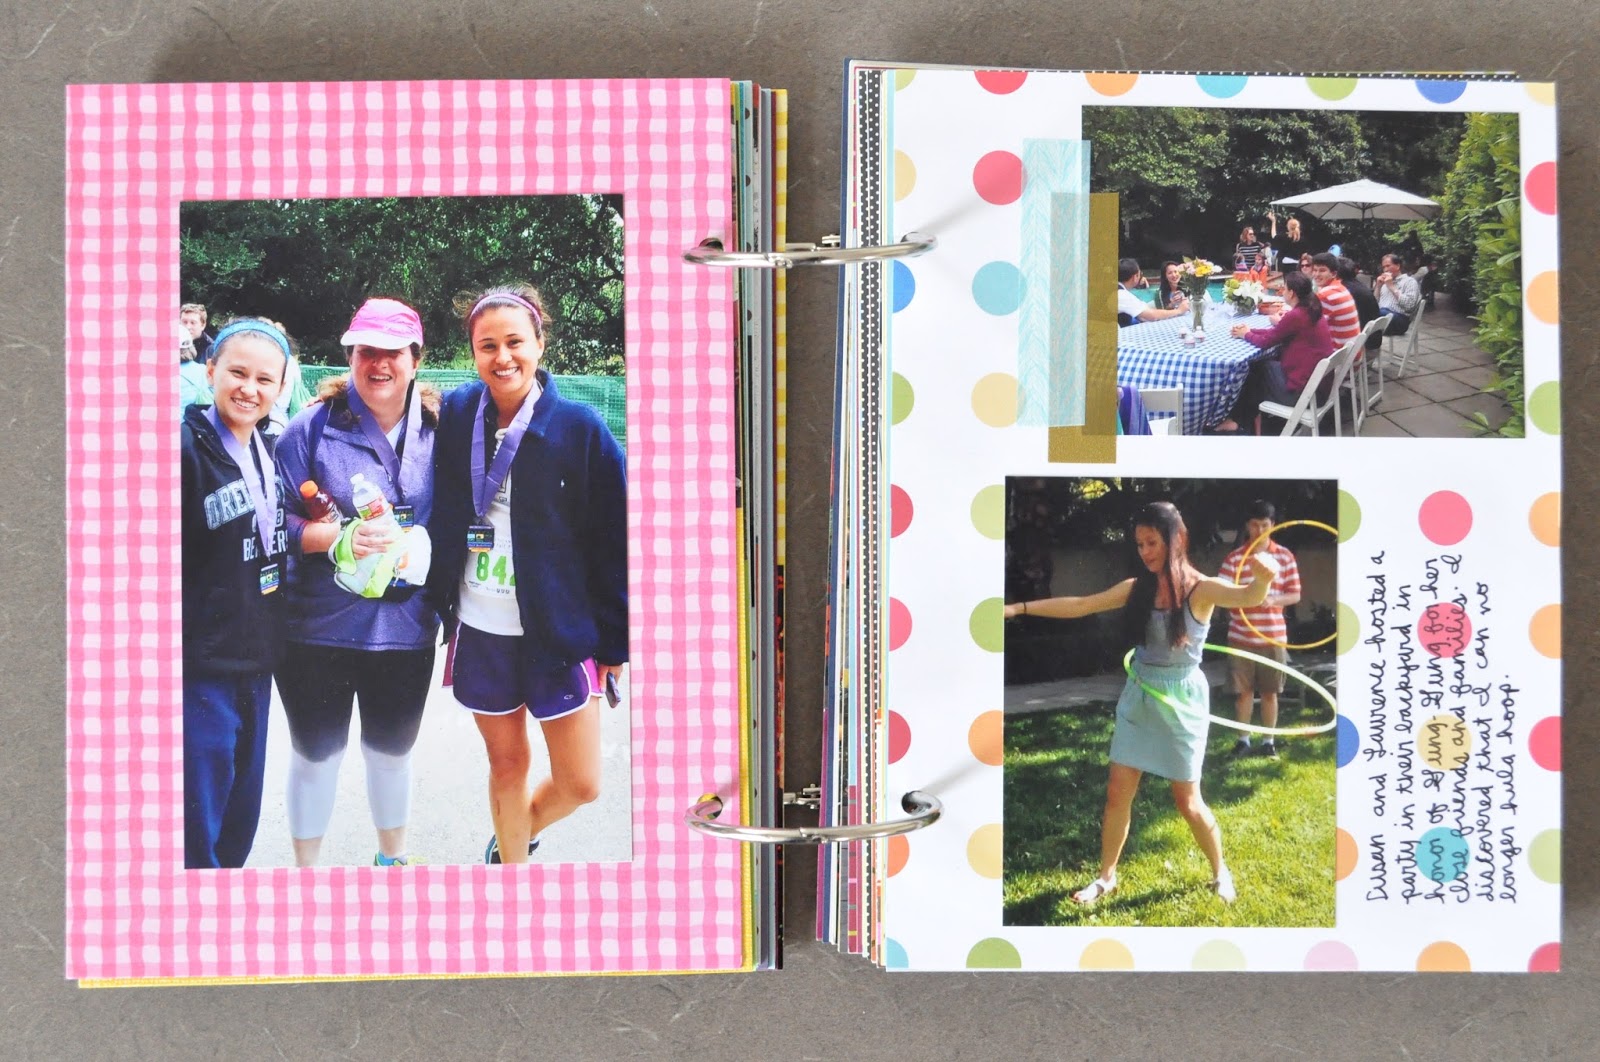
I worked on this project knowing that it was meant for me. I didn't need anything super fancy or expensive; mostly I wanted to use what I had lying around. All of the pages are made from random 12x12 scrapbook paper (purchased from either Michael's, JoAnn, or Target's DollarSpot), all cut down to 8x6 inch pages. The front and back covers are just plain brown kraft paper. I wasn't going for any theme, rather I simply selected papers that I thought would work well covered in pictures and writing. Solids are always a good, simple option. I also found I liked working with paper with tiny patterns- they didn't draw attention away from the photos, and they weren't completely hidden from the photos. I picked two cut down papers at random and attached them together to make double-sided paper. I tried several different methods for this: double-sided tape; glue stick; and Creative Memories adhesives. Obviously the adhesives worked the best, followed closely by double-sided tape.


I did my best to randomize the order of the colorful pages, although I did make sure to include the red and green "Christmas-y" papers towards the end of my book since I wanted to display my photos in chronological order. There are several page repeats so I also made sure to place them far apart from each other.


I went through all of my iPhone and big camera photos, selecting the ones that brought back the best memories. I didn't want all of my photos to start out as 4x6's, but I also wanted to keep the entire photo intact and keep their existing proportions. I didn't want to pay more for different sized photos that I would most likely end up cropping anyway, and I don't have much experience with resizing in Photoshop either. Instead, I used the Project Life app on my phone and resized some of the images I had already taken on my phone. As I went through my photos, I already pretty much knew which ones I wanted to standout. The photos that weren't destined to become the main focus of a layout thus became the ones I ended up resizing smaller. In the app, I just stuck to the simple two-photo layout and switched between the horizontal and vertical orientations, based upon the photos I was working with. It was really easy to select previously saved photos on my phone and drop them into the new Project Life templates. I saved these new images to my phone and then my computer. I added these resized images to a folder with the rest of my big camera photos I would be using, and then uploaded the entire folder to Shutterfly. Once I received my photos, I cut these resized images in half so that I now had 3x4 photos to work with as well. I know there are much simpler and quicker ways to do this, but this was the easiest for me to figure out. I'm really glad I did this because being able to play around with more than just 4x6 pictures made the process so much more interesting.


Next, I organized my photos in chronological order, and figured out that I should be using on average, 3-4 photos per page. Obviously I didn't stick to this throughout the entire book, but it created a great starting point for me to work off of. Making sure to keep all the pictures from one event on the same page(s) and keeping similar photos together, I developed a rough layout.
Then, I cropped my photos down so that all the necessary photos would fit on a single page, played around with the layout of the pictures, and then attached them with the Creative Memories adhesives.
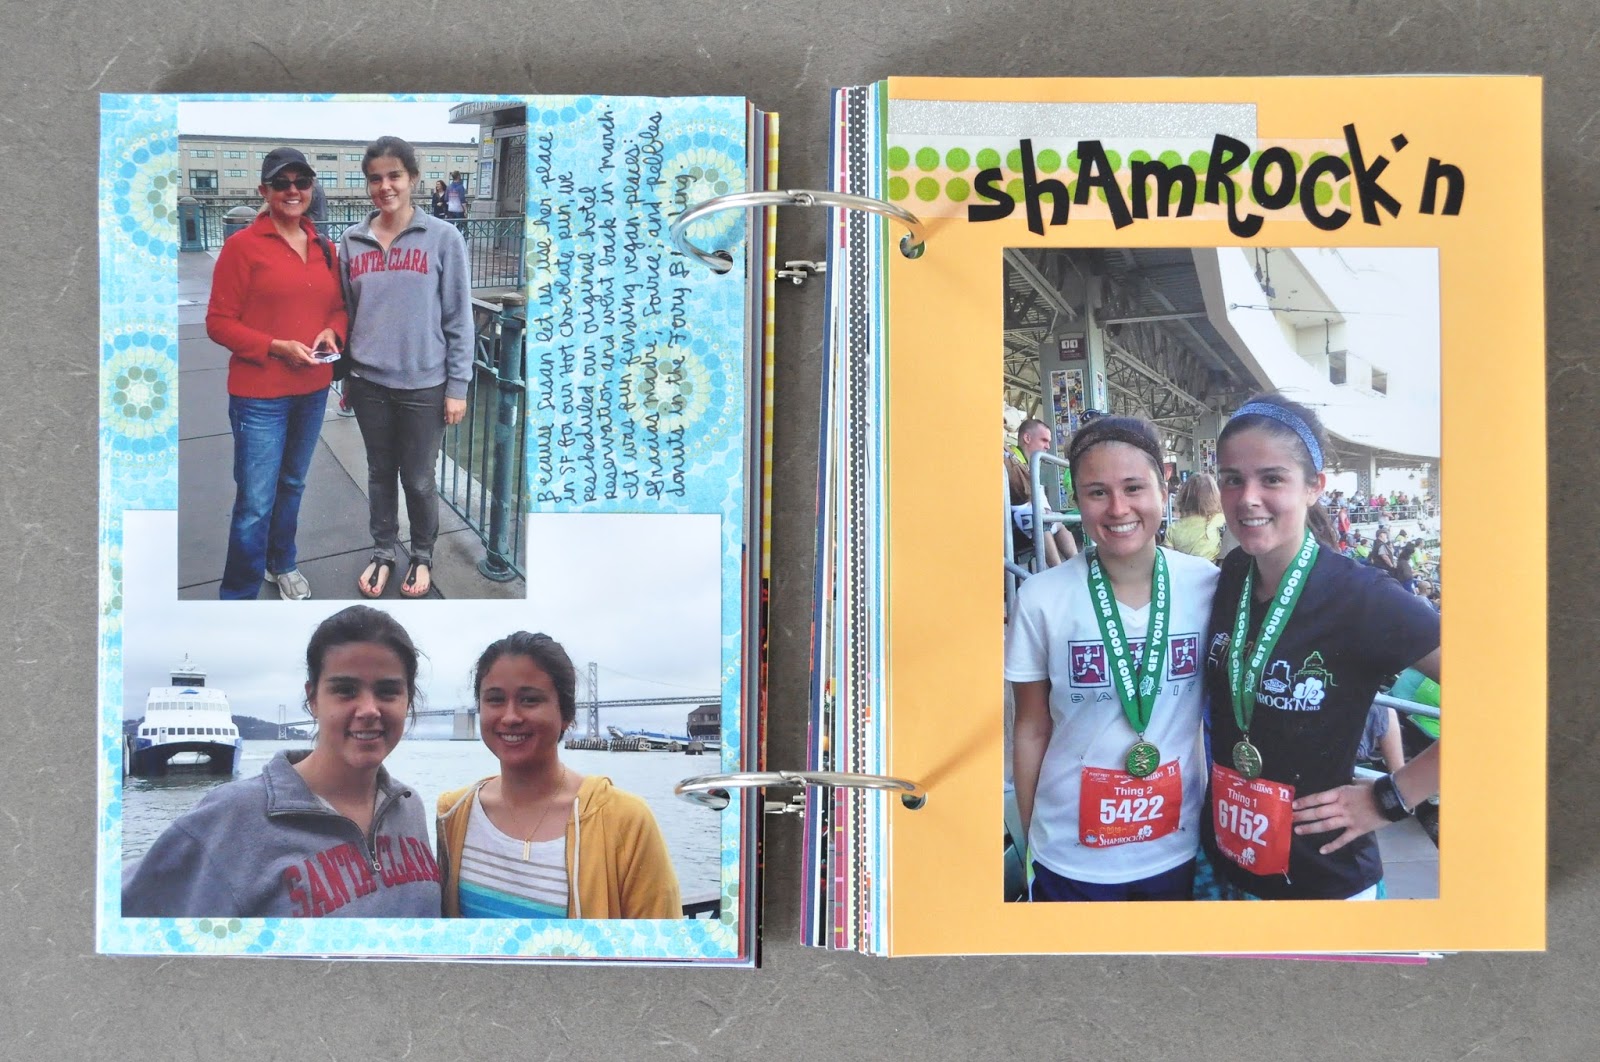
Once all of the pictures were tacked down, I added some notes and captions to only some of the pages. I didn't want this scrapbook to turn into a journal, so I left a handful of the pages bare with just a photo or two. So that I wouldn't make silly errors, I typed up everything I wanted to write. It was much less stressful to put my pen on the paper doing it this way.
Now comes the fun part, details! I embellished my pages using Martha Stewart sticker labels, a date stamp, random letter stickers, alphabet stamps, more scrapbook paper, and washi tape. These little decorations really sealed the deal for me.
I hole punched all of my pages, using the the cover page as a template for the next page. I wish I hadn't made the holes so close to the edge of the paper though. I'm a little worried the holes will rip with time and use. I secured the entire book together with two loose-leaf rings, and deemed my mini scrapbook complete!
I want to do a better job at documenting my life through pictures so that I have tubs full of albums to look through when I'm older. New goal!


No comments:
Post a Comment